Where are the notes?
Before you start playing, always begin by stretching your fingers. You can find exercises with an internet search, but here's a link for a quick & easy stretch: Best Finger Stretching Exercises for Guitar (fretjam.com)
I recommend you purchase a tuner. A clip-on tuner pinches onto the headstock and picks up the pitch of each string as it vibrates through the neck. They are quick & accurate and cost $20 or less. (Of course, you should listen to the correct pitch as you tune to develop your ear for the proper notes.) I also recommend you use the exercise below to learn the relationships between the same notes on different strings to tune the guitar using the guitar itself. Then, you can check the accuracy of your ear using the tuner.
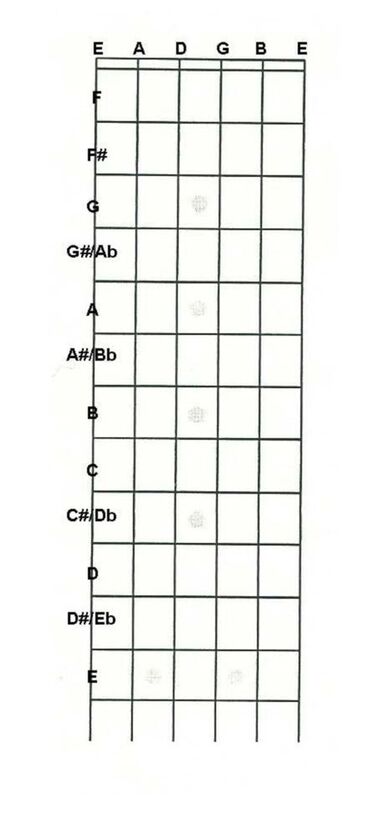
Standard tuning for a guitar is E-A-D-G-B-E, low to high, as represented in the diagram below by the notes listed across the top of the neck.
Exercise
The neck diagram below is the only PDF that should definitely be printed out as an exercise. Its purpose is for you to begin to develop an awareness of the location of all the notes on the fretboard & how they relate to each other.
The exercise is simple: I've given you 13 notes along the low E string, beginning with the E of the open string & ending with the E on the 12th fret (the one with two dots, or position makers, on your guitar). Your task is to fill-out the diagram for the other five strings. Using the E string as a guide, the open A of the next string appears at the 5th fret. Repeat the pattern until you reach the A on the 12th fret. Then repeat the process for the other four stings.
When you're finished, you'll have a position diagram for all the notes on the guitar. (The notes from the 12th fret forward repeat the same pattern from the open strings because the 12th fret is the midway point on the string's length.) The completed diagram will help you if you're searching for a note and help you graphically see the relationships between the strings. [PDF]
